How to get started with Aseprite (or Photoshop) for Wizards
This guide will show you how to get your Wizard into Aseprite to use for art remixes, animation, or anything Aseprite will allow you to do.
%20for%20Wizards.png?wizardImage=5335)
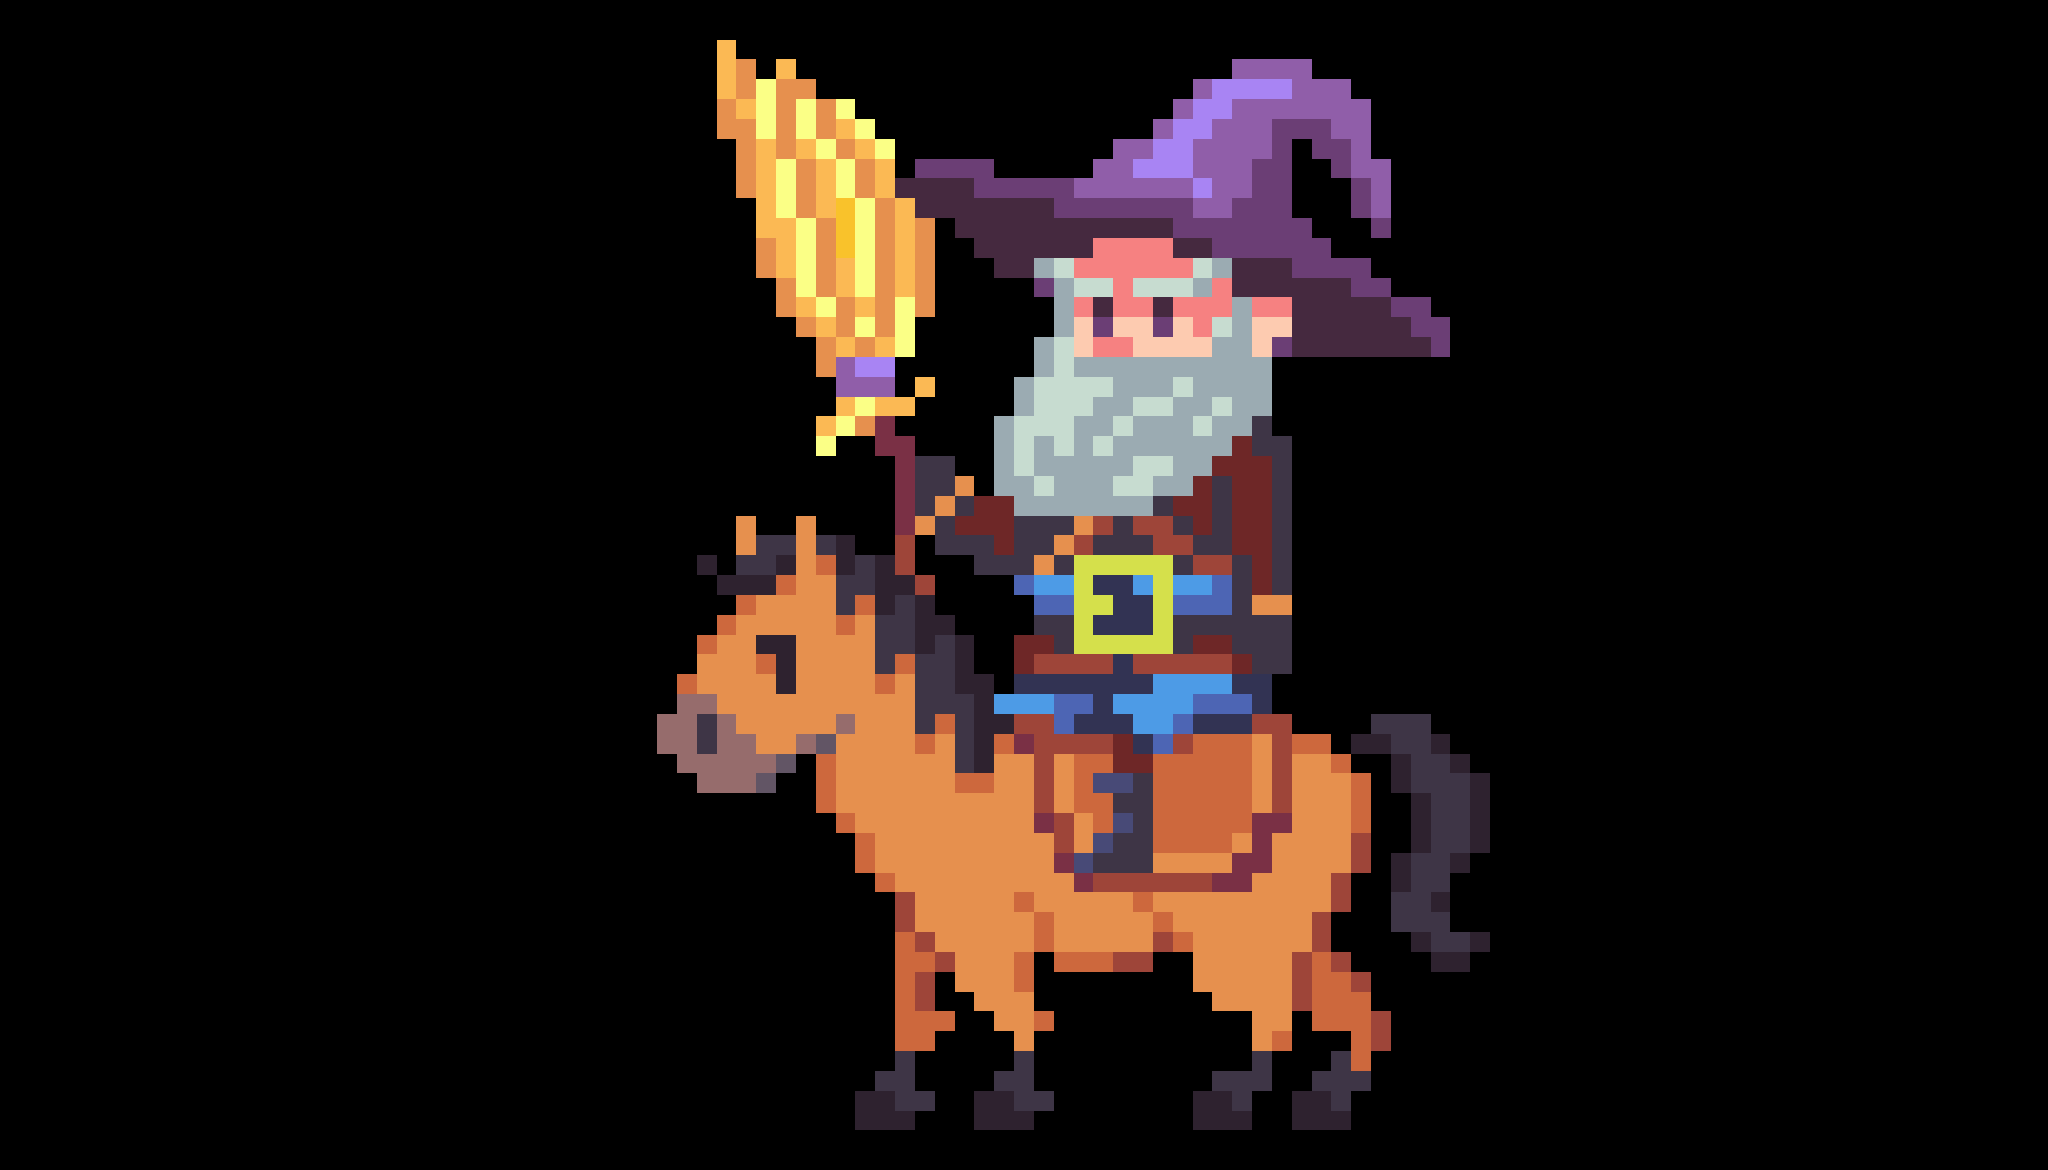
First, you'll want your Wizard broken into it's separate layers, which will likely include the head, body, prop, familiar, and rune.
To get your Wizard's layers, go to forgottenrunes.com. Connect your wallet by clicking the crow.

You must, of course, connect the wallet that is holding your Wizard collection.
Then click on the little hat and staff.

This will give you a pop-up of all the Wizards you own. I, for example, own Adept Carly of the Wood, serial #32.

You'll see little icons as the bottom. From left to right, we have share to Twitter, view on OpenSea, and download. Click the download button. You will get a little zip file that contains all the layers. You'll notice the name of the zip file corresponds to the Wizard's serial number, (32 in this case.)
In this zip file you'll see:

The 50 folder has the assets in a 50x50 pixels frame. The 400 folder has them at 400x400 pixels. If you want to do proper pixel art in Aseprite, you'll want to use the assets in folder 50.
Now it's time to get into Aseprite. If you don't own it, it's only $19.99 from this website
If you are an aspiring pixel artist, I highly recommend it. It's easy to learn and there are many tutorials on Youtube on how to use it. In fact, one of my favorite pixel artist Youtubers is Brandon James Greer.
This guide is not intended to be an entire course on Aseprite, nor animation, it's only going to show you how to get your Wizard layers into the program.
So open Aseprite and go to File > New
Set your document to these settings.

Now, there's actually not a super streamlined way to get all these layers into Aseprite. If anyone knows a better way, please let me know, but here's my method:
Drag and drop the body file into Aseprite. Instead of putting that body image into the document you just created, you'll notice Aseprite actually makes a whole new tab!

Ok so now you can actually just close that first document you made (the tab labeled Sprite-001) You don't need it!
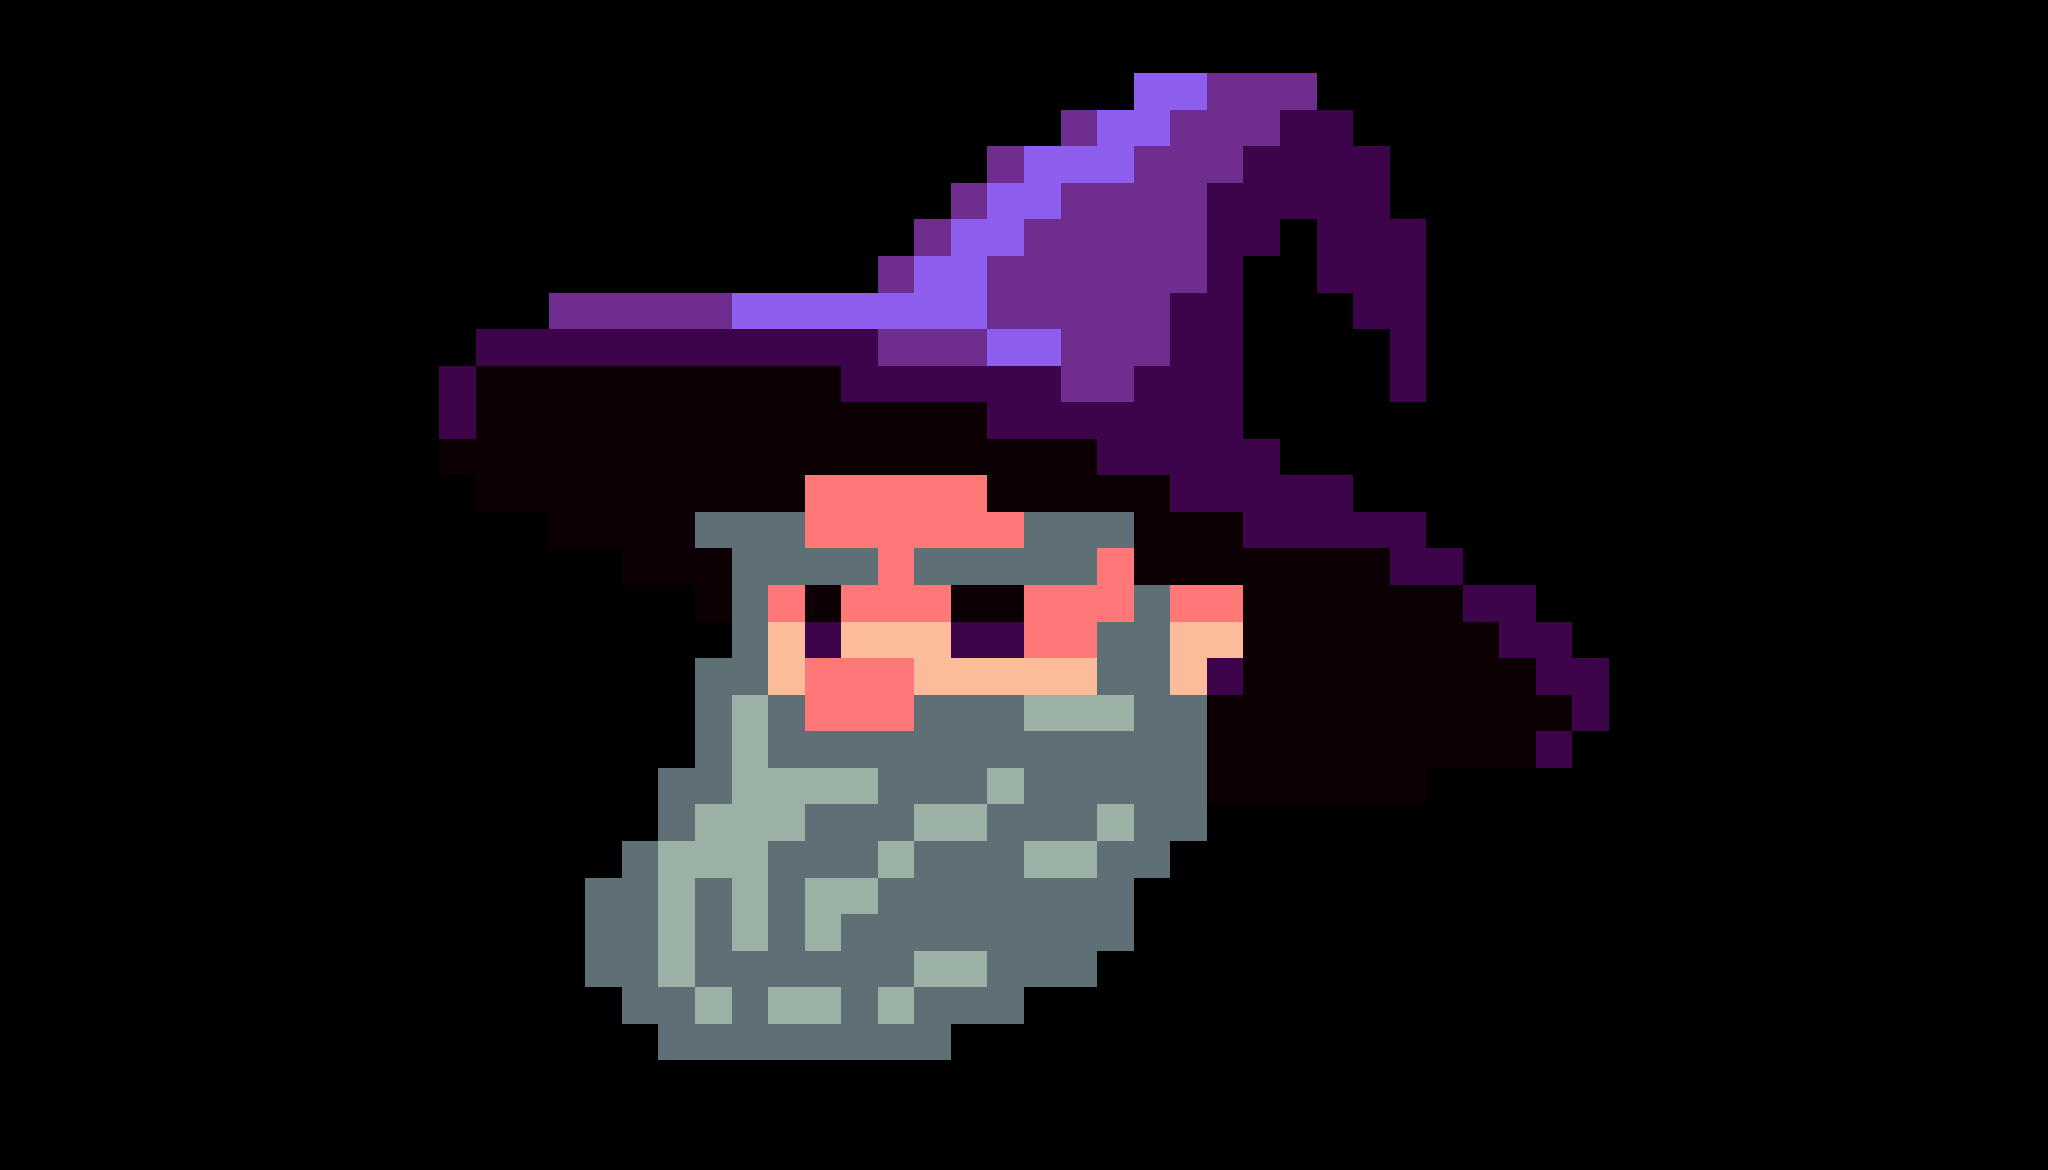
Back in the body file, double click the Layer and rename it Body

Next, drag and drop the head image on top of the body. Again, a whole new tab!!

Now here's the trick- click on the little black dot on the head layer. Make sure it's highlighted and go to
Edit > Copy. Then go back to the Body tab. Make a New Layer above the Body layer and rename it Head. Now, click in the little square in the Head layer, and go toEdit > Paste. The head should pop right into place!
Now you can close that tab that holds only the head.
Just reapeat those steps for every remaining part (prop, familiar, rune). The point is to gather all the parts into one Aseprite file.
Using this method, you'll have each part on an easily editable layer that will allow for easier animation. Have fun and be sure to share your animations with us @forgottenrunes on Twitter!
Secret Wizard Tip #1 There is another way to get the Wizards parts if you don't want to connect your MetaMask. Simply put http://nftz.forgottenrunes.com/wizard/32.zip into the URL, but replace 32 with whichever serial number of the corresponding Wizard you want to access. But remember, it is considered good form to be sure you have the permission of the Wizard owner before using the parts of any Wizard.
Secret Wizard Tip #2 You don't have to use Aseprite! Photoshop also works quite well for image editing. In fact you can use any image editor you want. Dragging layers into these other programs is much easier. In some cases, the folder containing the 400x400 parts may be better for your use.
-Elf